
For an agent to interact with customers, you must create and customize a profile for that agent with the following information:
- Login credentials to enable the agent to log on to the agent desktop.
- A phone number to establish an audio path.
- Communication channels (for example, SMS, email, or chat), language skills (for example, English or Spanish), services, and the schedule assigned to the agent.
Creating an Agent's Profile
To create a profile for an agent:
- Log in to the LiveVox Portal.
- On the Configure tab, click Agents > Agents.
The Agents window appears.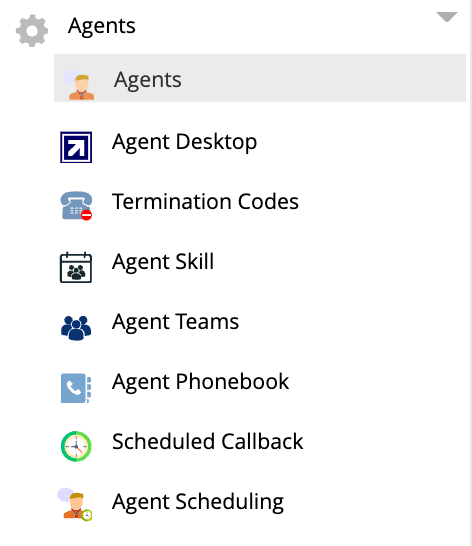
- On the General tab, click Add.
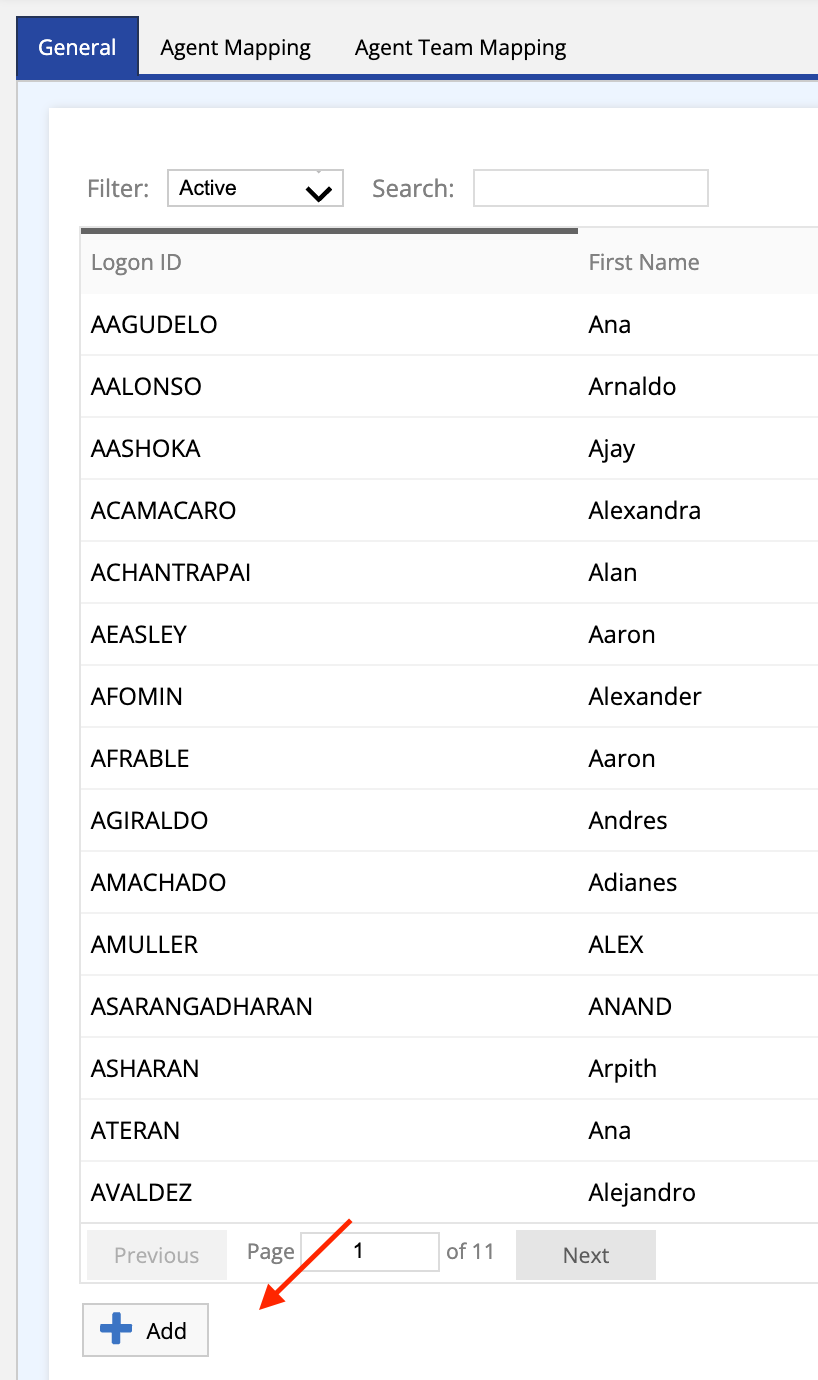 The Agent Details window appears.
 - Select the required values for fields in each of the tabs, and then click Save. Anything marked with an * is a required field.
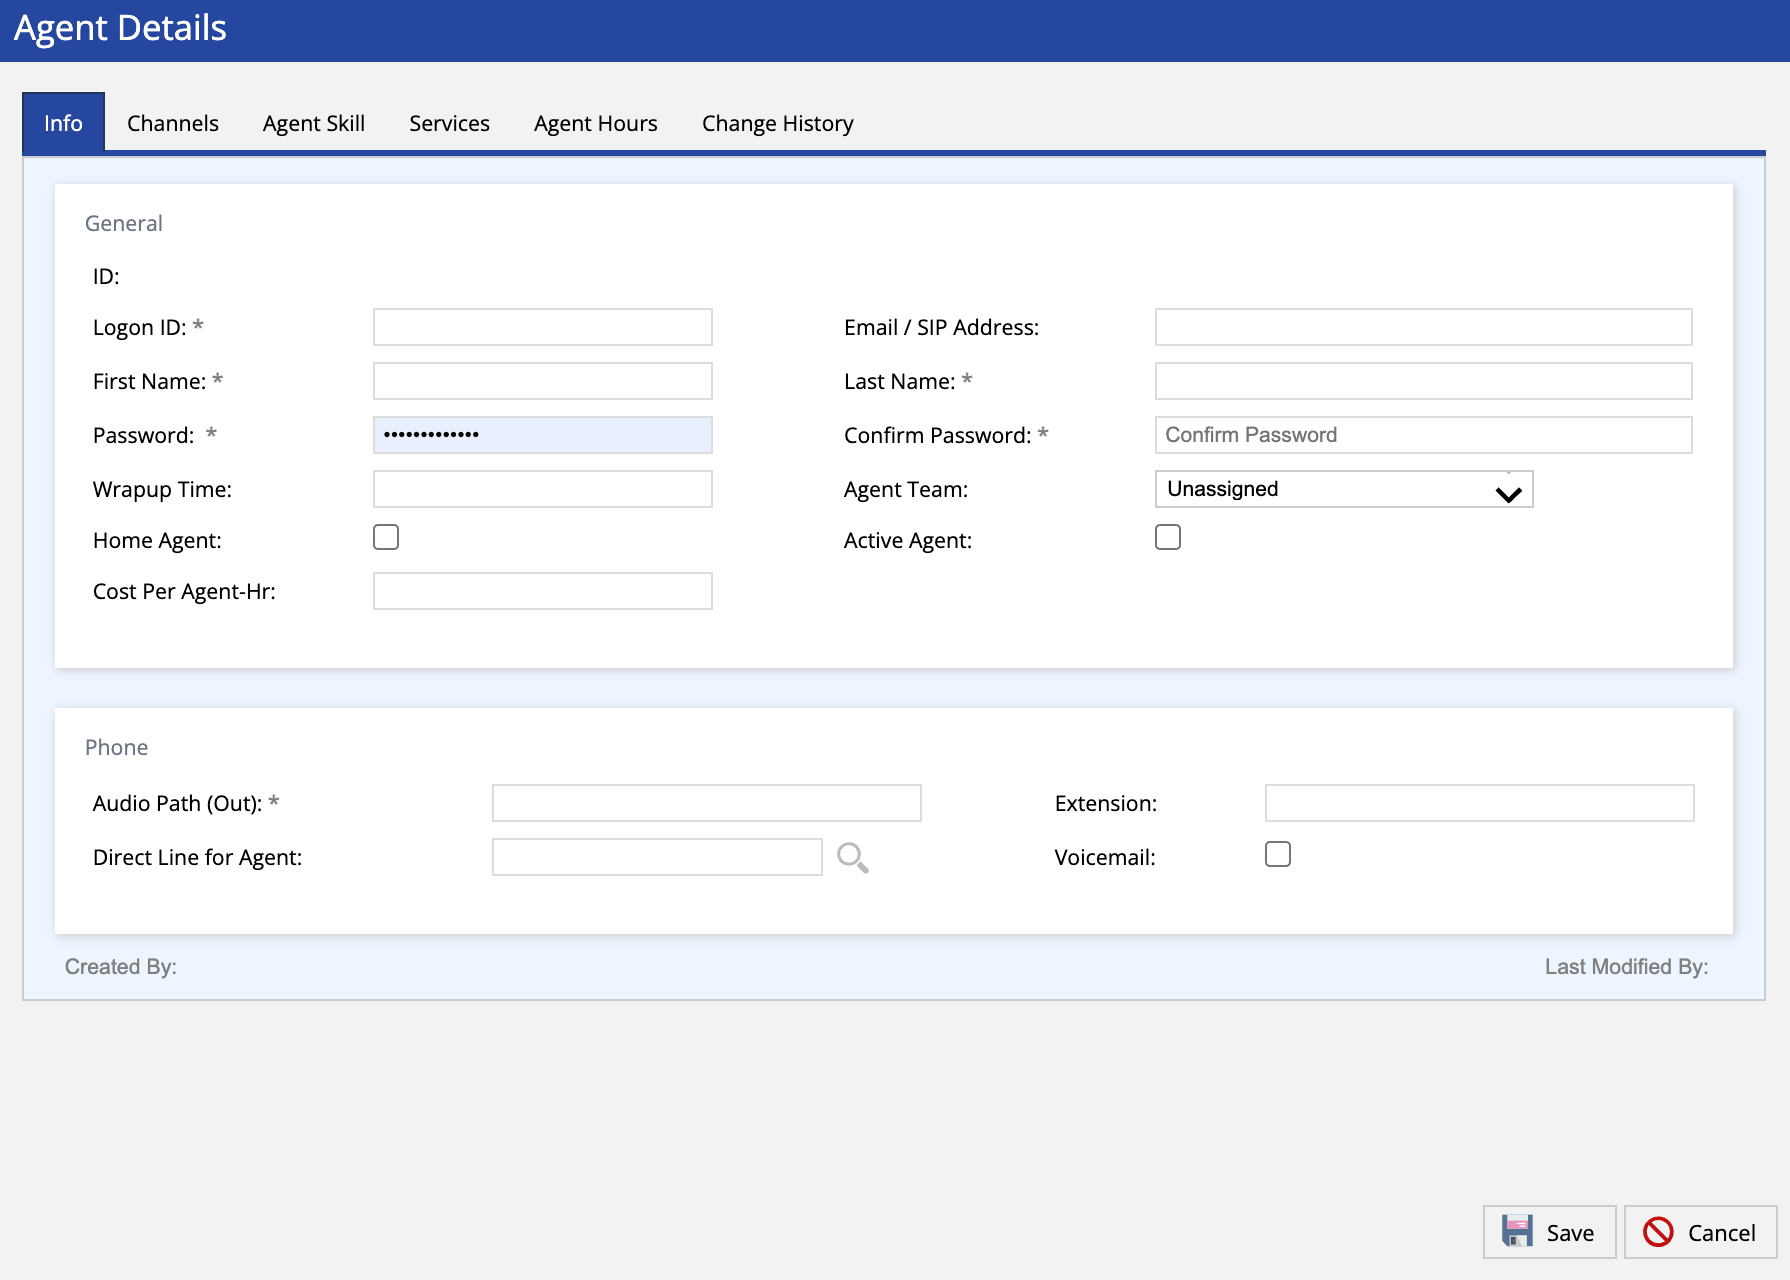 U17 Agent Profile Creation
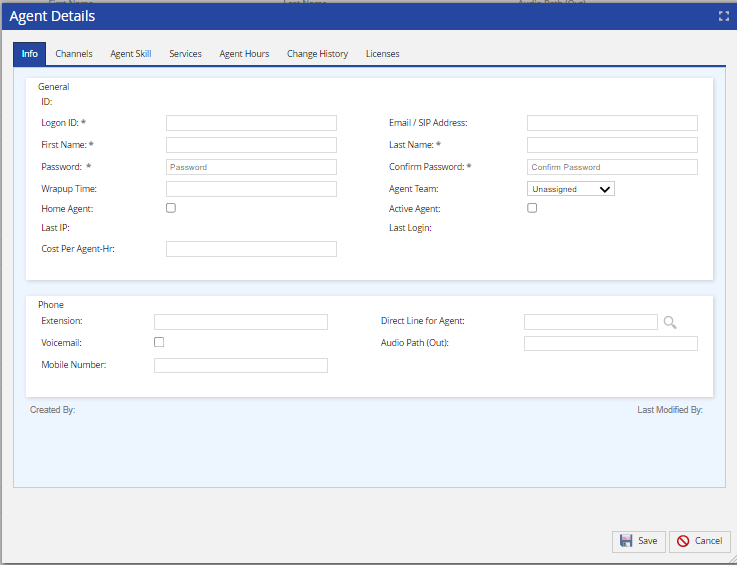 LV19 and Fall 23 Agent Profile Creation
 - The agent's profile is created.
Delete
Customizing an Agent's Profile
To customize an agent's profile:
- Log in to the LiveVox Portal.
- On the Configure tab, click Agents > Agents.
The Agents window appears.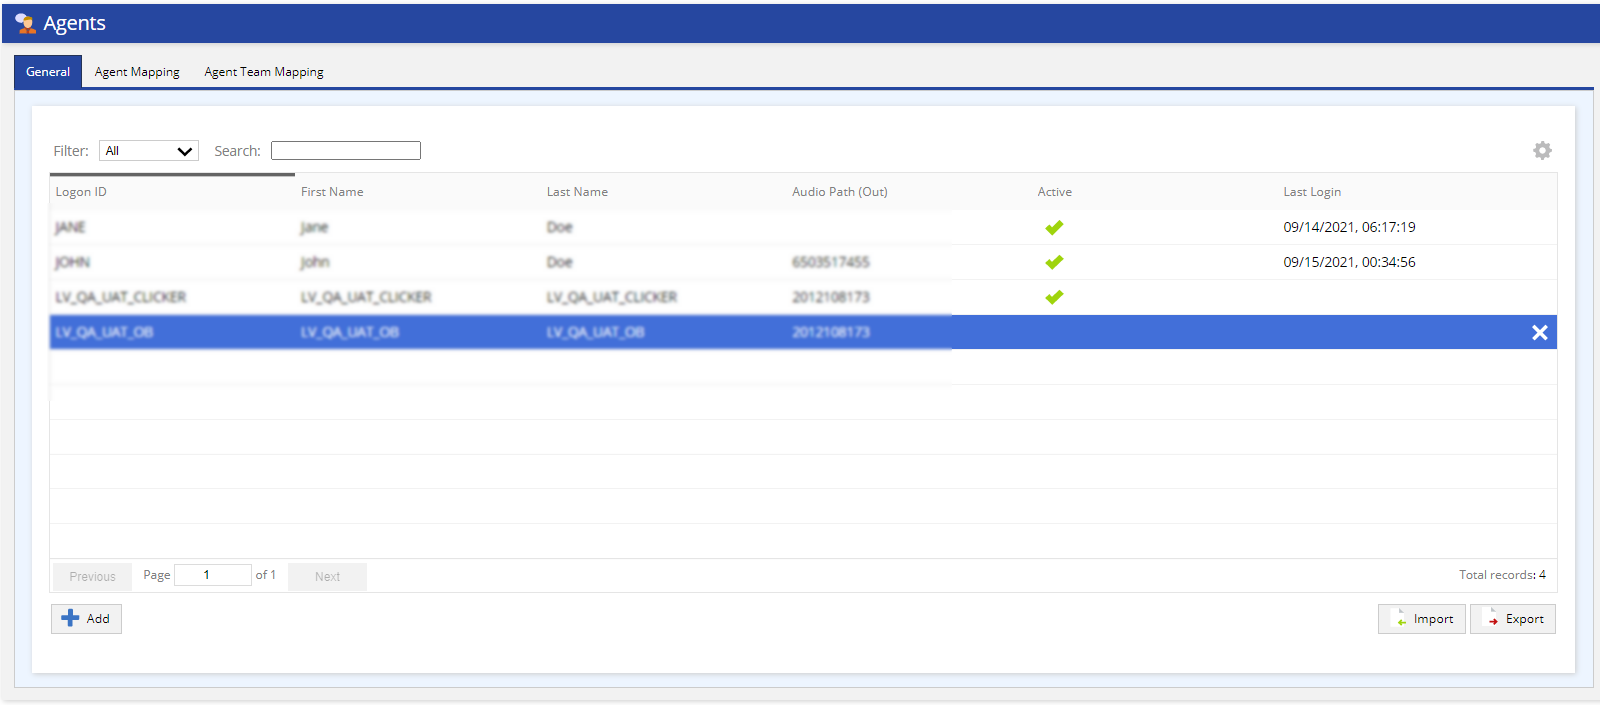
- On the General tab, double-click on the agent's profile that you want to modify.
The Agent Details window appears.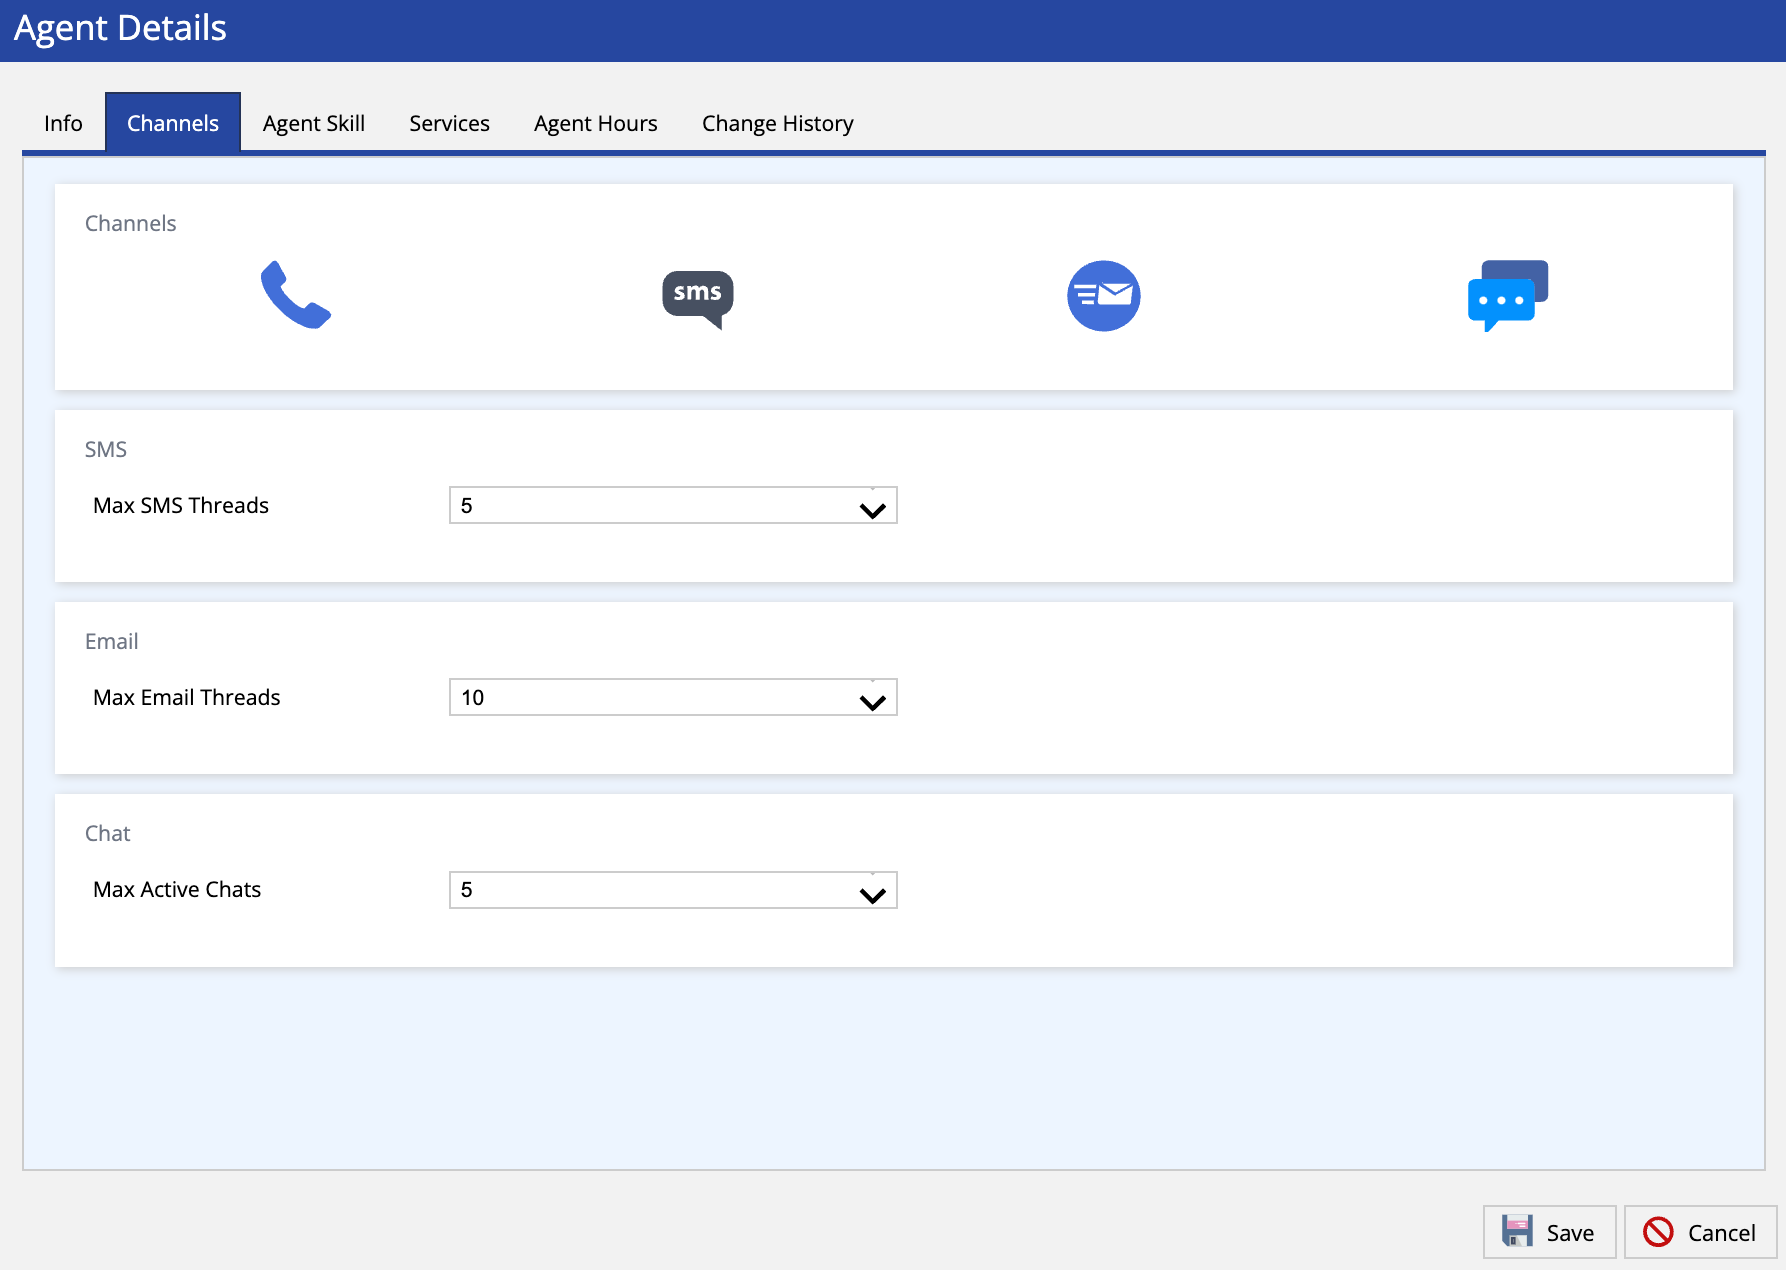 LV19 Agent Channels
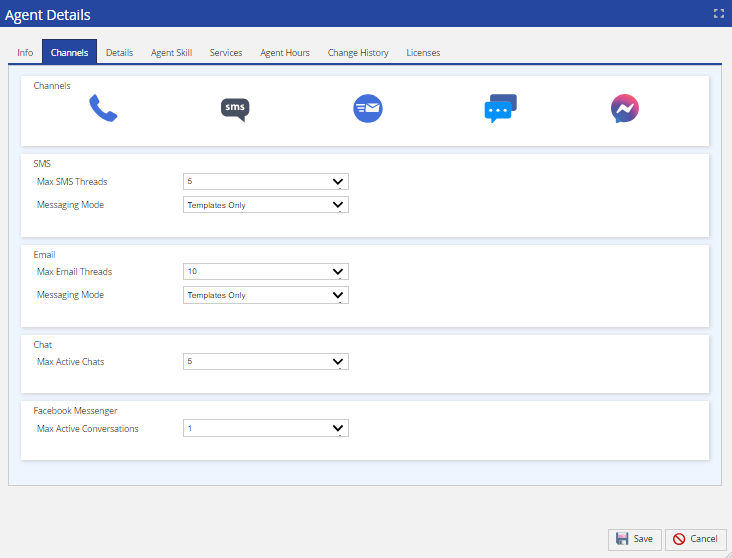 Fall 23 Agent Channels
- In the Agent Details window, modify the values in the fields, and then click Save. You can add Channels (seen in the screenshot above), assign Agent Skills, as well as other customization options.
You have customized the agent's profile.
Delete