
Ticket allows you to create new contacts within the Ticketing system.
U17/LV19
Creating a Contact Using the Ticket Feature
To create a contact through the Ticketing system:
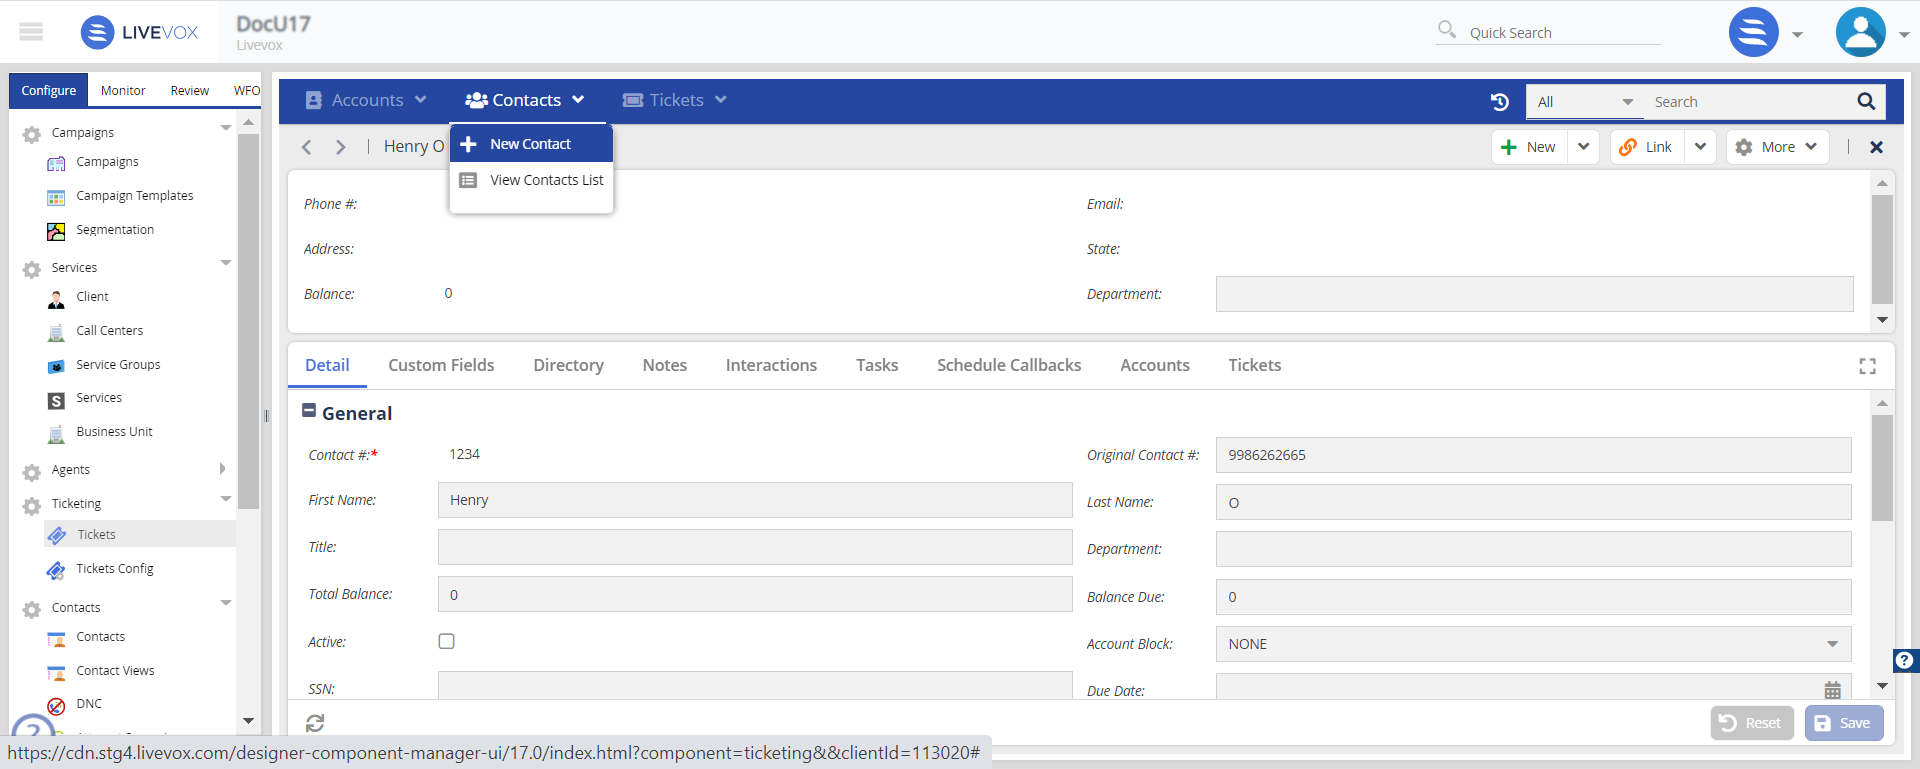
- On the Configure tab of the LiveVox Portal (LVP), click Ticketing > Tickets.
A window appears displaying the Accounts, Contacts, and Tickets tabs. - On the Contacts tab, click New Contact.
 The New Contact window appears.
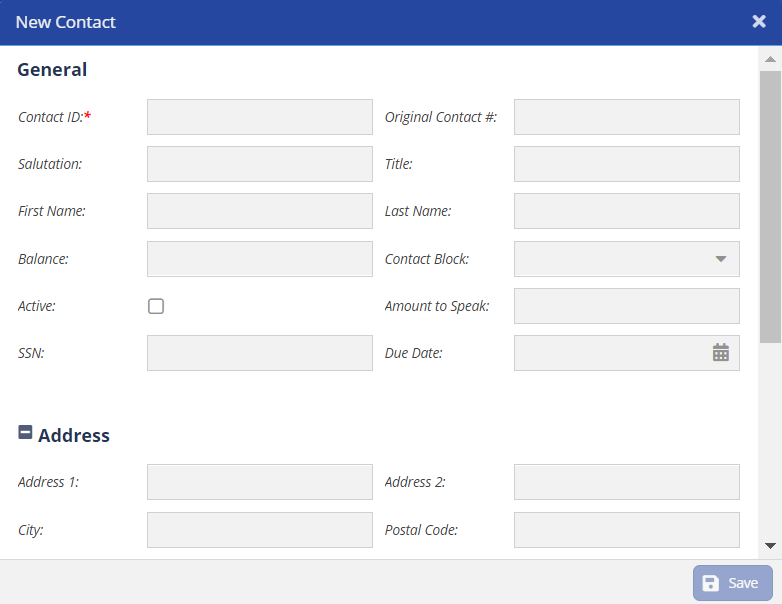
- Specify values in the Contact Fields.
- Click Save.
The contact is created, and the details of the contact appear on the Contacts tab.
.png) ).
).Fall 23
Creating a Contact Using the Ticket Feature
To create a contact through the Ticketing system:
- On the Configure tab, go to Ticketing > Tickets.
The Tickets List appears. - Locate and open the ticket (double-click on it) to which you want to add a contact.
- Click the plus icon (
 ) and select Contact.
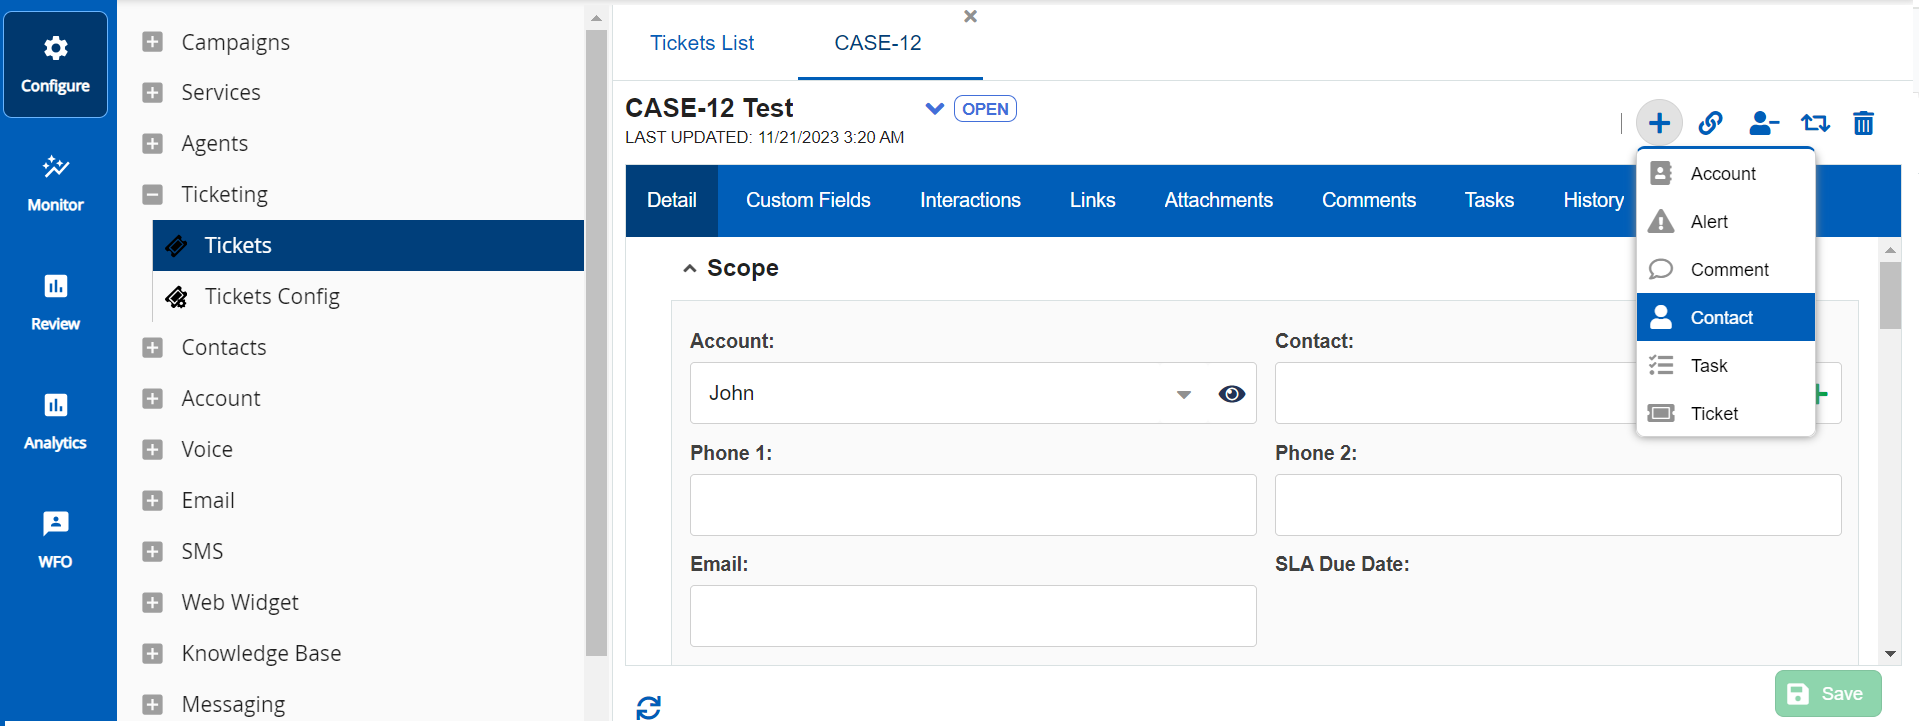 The New Contact window appears.
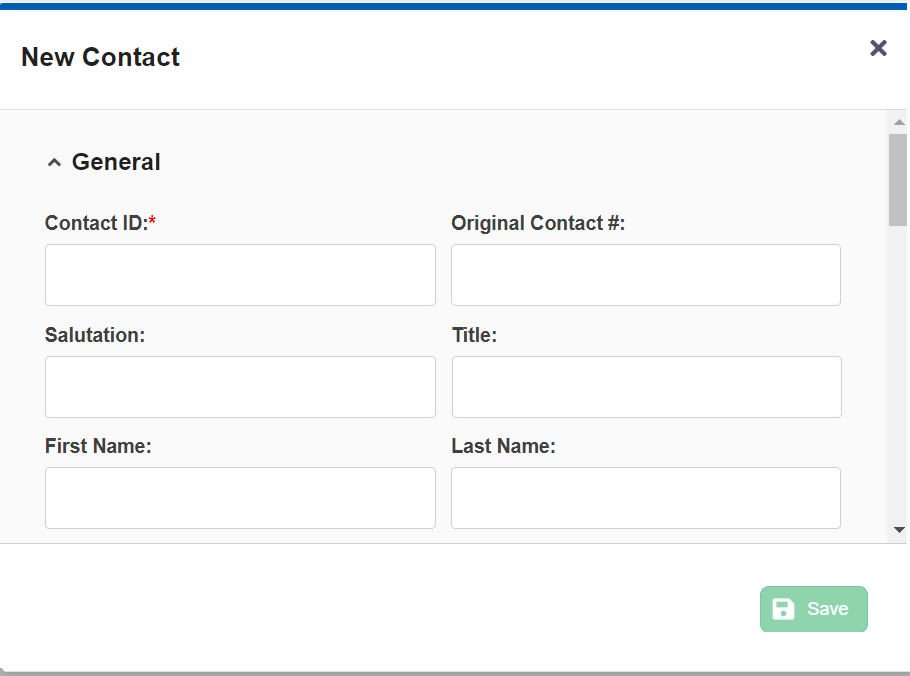
- Specify values in the Contact Fields.
- Click Save.
The contact is created, and the details of the contact appear on the Contacts tab.