
This article describes the procedure to create a Chat widget on the LiveVox portal.
Before You Begin
To configure a Chat widget:
- Ensure that the Inbound Chat message field of the services to which you want to route a chat (that is, chat services) contains a message template.
The Inbound Chat message field appears on the Settings tab of the Services window. This window appears when you click Services > Services on the Configure tab.
- Ensure that the Chat Routing Token field of the chat services contains a value that indicates a routing token/department to which you want to route a chat (for example, Banking, Billing, Collections, or Support).
The Chat Routing Token field appears on the Settings tab of the Services window.
- Ensure that the chat channel is enabled for the agents who are assigned to the chat services.
The option to enable the chat channel appears on the Info tab of the Agent Details window for an agent. This window appears when you click Agents > Agents on the Configure tab and then double-click the row (in the Agents window) displaying the attributes of the agent.
Procedure
To configure a Chat web widget:
- On the Configure tab, click Web Widget > Widget. The Web Widget window appears.
- Click Add a New Web Widget. The Web Widget Detail window appears.
-
On the General tab specify values in the following fields:
A dynamic preview of the widget appears in the Preview section of the window.Field Description Name
Identifies the widget. Description Describes the widget. Header Displays the title of the widget on your website. For example, Hello is the header in the screenshot below. Style Displays the style of the widget (that is, badge, bar, or button). Color Displays the color of the widget. 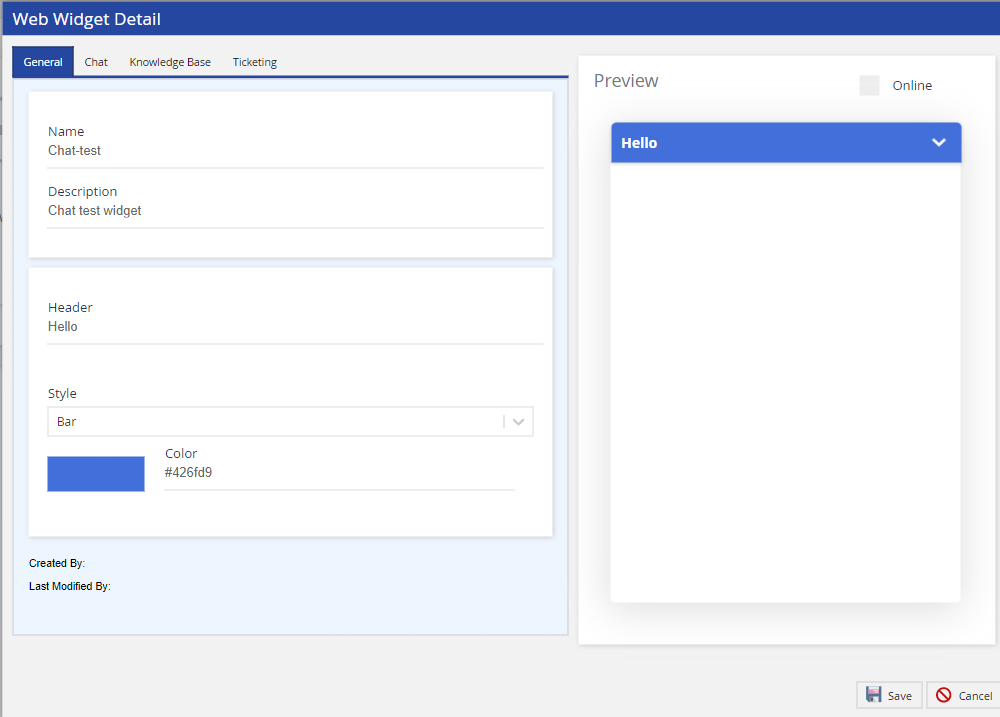
You can preview the style of the widget (that is, badge, bar, or button) by minimizing the current preview in the Preview section (that is, by clicking the Minimize icon ). Style is one of the configurable fields that you use to set up a Chat web widget. The Style field defines the way the widget is displayed on your website (that is, as a badge, a bar, or a button).
 To only create a web widget (that is, if you want to configure the web widget later), click Save. If you want to also configure the web widget, as required, perform the following steps.
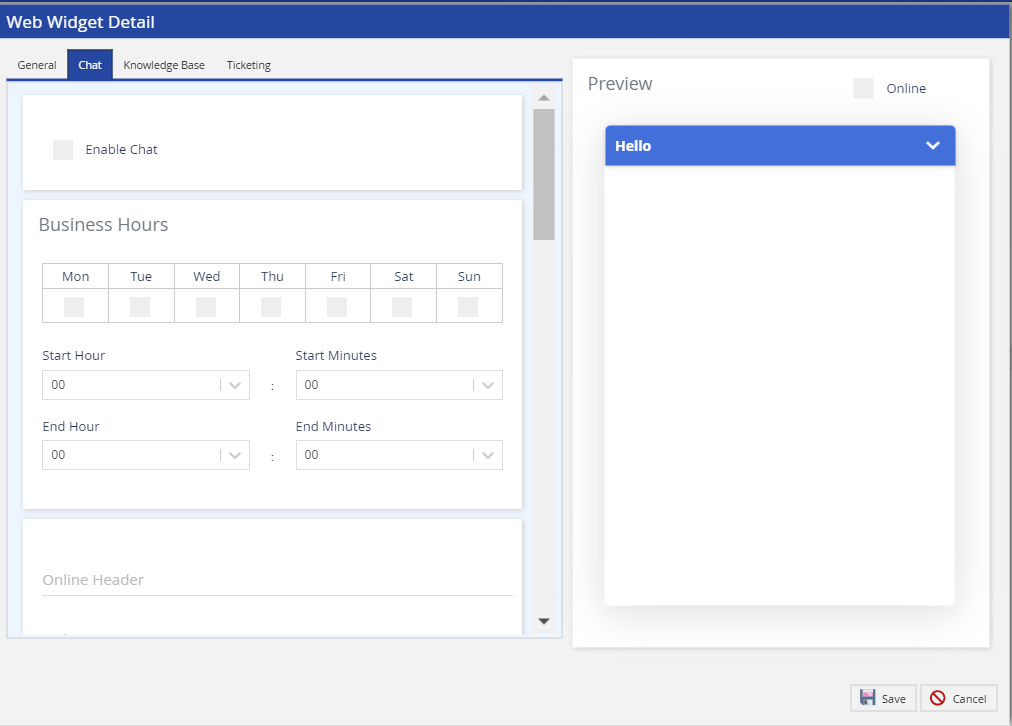
- To configure the Chat function for the widget (including configuring a proactive Chat web widget), click the Chat tab, and then specify values in the fields/sections.
- For more information about the fields, see Chat Widget Fields.
- For information about how to configure a proactive Chat web widget, see Proactive Web Chat.
You can preview an active Chat web widget (that is, the Chat web widget during the specified business hours) by selecting the Online checkbox in the Preview section.
You can preview an inactive Chat web widget (that is, the Chat web widget outside the specified business hours) by clearing the Online checkbox in the Preview section.