
To ensure that chat messages sent by your customers reach an agent, the agent must be set up for and enabled on Chat.
Before You Begin
Ensure that you record the services associated with the web widget.
Setting Up and Enabling an Agent on Chat
To set up and enable an agent for Chat:
- Log in to the LiveVox Portal.
- On the Configure tab, click Services > Client.
The Client window appears. - On the Configure tab, click Agents > Agents.
The Agents window appears. - On the General tab, double-click the row displaying the name of the agent.
The Agent Details window appears. - On the Channels tab, click the Chat Channel icon.

The Chat Channel icon appears blue, and the Max Active Chats field appears displaying the default value 5. - Optional: In the Max Active Chats field, enter the number of active chat conversations (threads) that you want the agent to handle at a given time.
- On the Services tab, in the Available section, select the recorded services.
The selected services appear in the Assigned section.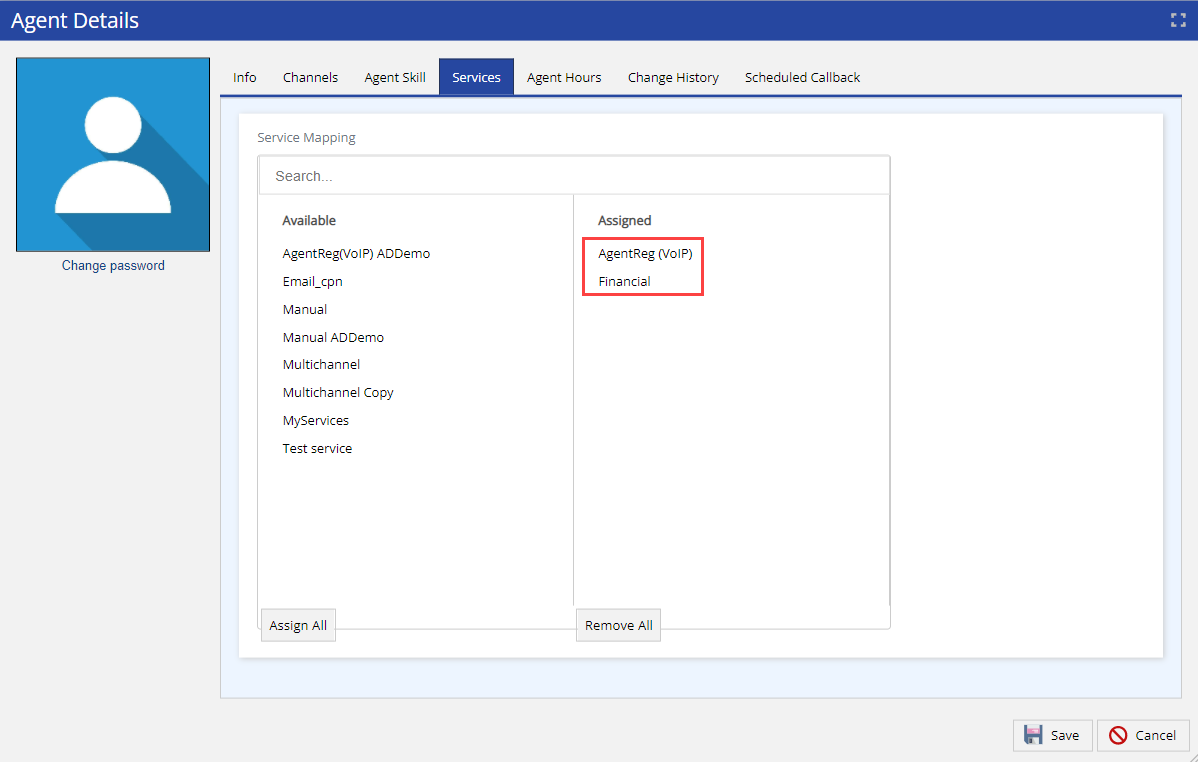
- Click Save.
