Running the Audio Wizard in LiveVox Communicator (LVC) v3.15
Use this diagnostic tool when you are unable to establish an audio path through LiveVox Communicator (LVC) v3.15

Written by Pat Parkhill
Updated at August 4th, 2025
If you are having difficulties establishing an audio connection using the LiveVox Communicator (LVC) v3.15 application, there is a tool called the Audio Wizard that can assist you. The Audio Wizard within LVC allows you to confirm the different aspects of your audio connection, including:
- Headset speakers (including volume)
- Microphone access
- Camera access (if using LVC for other non-LiveVox applications)
Running the Audio Wizard
-
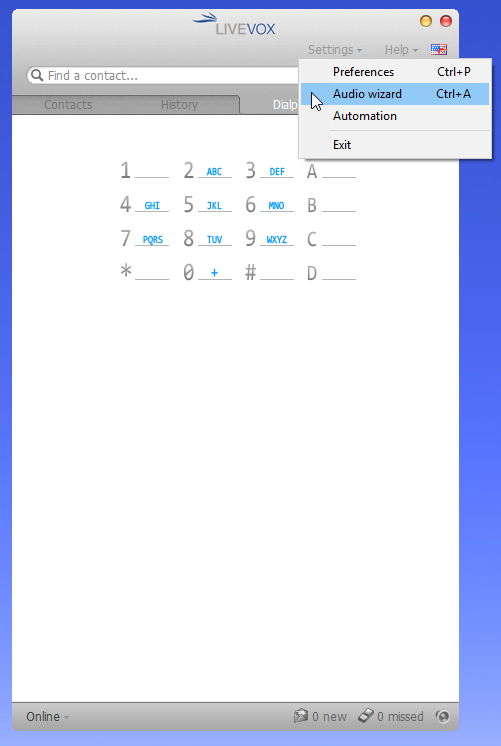
In order to run the tool, open the LiveVox Communicator (LVC) application and navigate to the Settings tab. Here you will find the Audio Wizard option from the drop-down list:
-
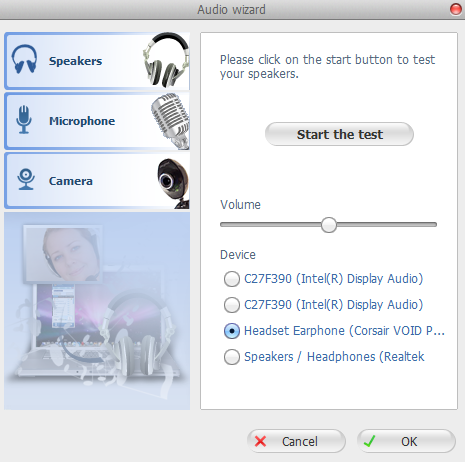
The first test will be to check your headset speakers. You will notice that a list of Devices is displayed within the window. These devices are all of the potential speaker options on your workstation.
In the screenshot featured below, there are four potential devices listed (two of these options are computer monitors, one is a USB headset, and one is the PC's internal speakers). You will always want to be using your USB-headset option. Click Start the Test and verify that you are hearing a ringing sound in your headset speakers. If you are not, the audio is coming from the incorrect device:
-
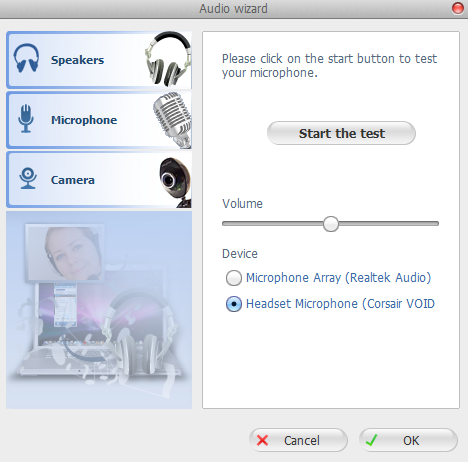
The last test will be to check your microphone access. Similar to the speaker test, you will select a device for your microphone. In the screenshot below, we see two devices. One is the computer's embedded microphone option, and the other is a USB-headset option. Always select the headset. Once you've selected the correct device, you can Start the Test. Instead of hearing a tone, you will see a bar displayed on your screen, measuring your voice volume. If the bar is moving: your voice is being picked up properly. If the bar is not moving: check your device choice and make sure your microphone is not muted on your headset.