Contact Us

If you still have questions or prefer to get help directly from an agent, please submit a request.
We’ll get back to you as soon as possible.

Please fill out the contact form below and we will reply as soon as possible.

  • Contact Us
  • Home
  • Administrator
  • Chat

Creating a Chat Bot and Assigning it to a Chat Widget

Written by Pat Parkhill

Updated at August 4th, 2025

Contact Us

If you still have questions or prefer to get help directly from an agent, please submit a request.
We’ll get back to you as soon as possible.

Please fill out the contact form below and we will reply as soon as possible.

  • Administrator
    Quick Start Contact Management Campaign Management Monitoring Reporting & Analytics CRM Agent Desktop SMS Messaging Attempt Supervisor SpeechIQ Script Email Chat Ticket BI (Business Intelligence) Wallboards API Voice
  • Agent
    Getting Started Using the Agent Desktop Understanding Your Agent Role
  • Troubleshooting
    Diagnostic Tools Error Messages Agent Desktop Troubleshooting Call, Email, or SMS Troubleshooting Reporting & Analytics Troubleshooting Community-Customer Service
+ More

This article describes the basic, high-level procedure to create a chat bot and to assign the bot to a chat widget.

Before You Begin

Ensure that your LiveVox Bot account is set up and you have created a password for your account. For assistance, contact the LiveVox Customer Care Team.

Creating a Chat Bot

To create a chat bot:

  1. Log in to LiveVox Bot.
  2. In the Bot Management window, click New Bot.
    The Build tab appears.
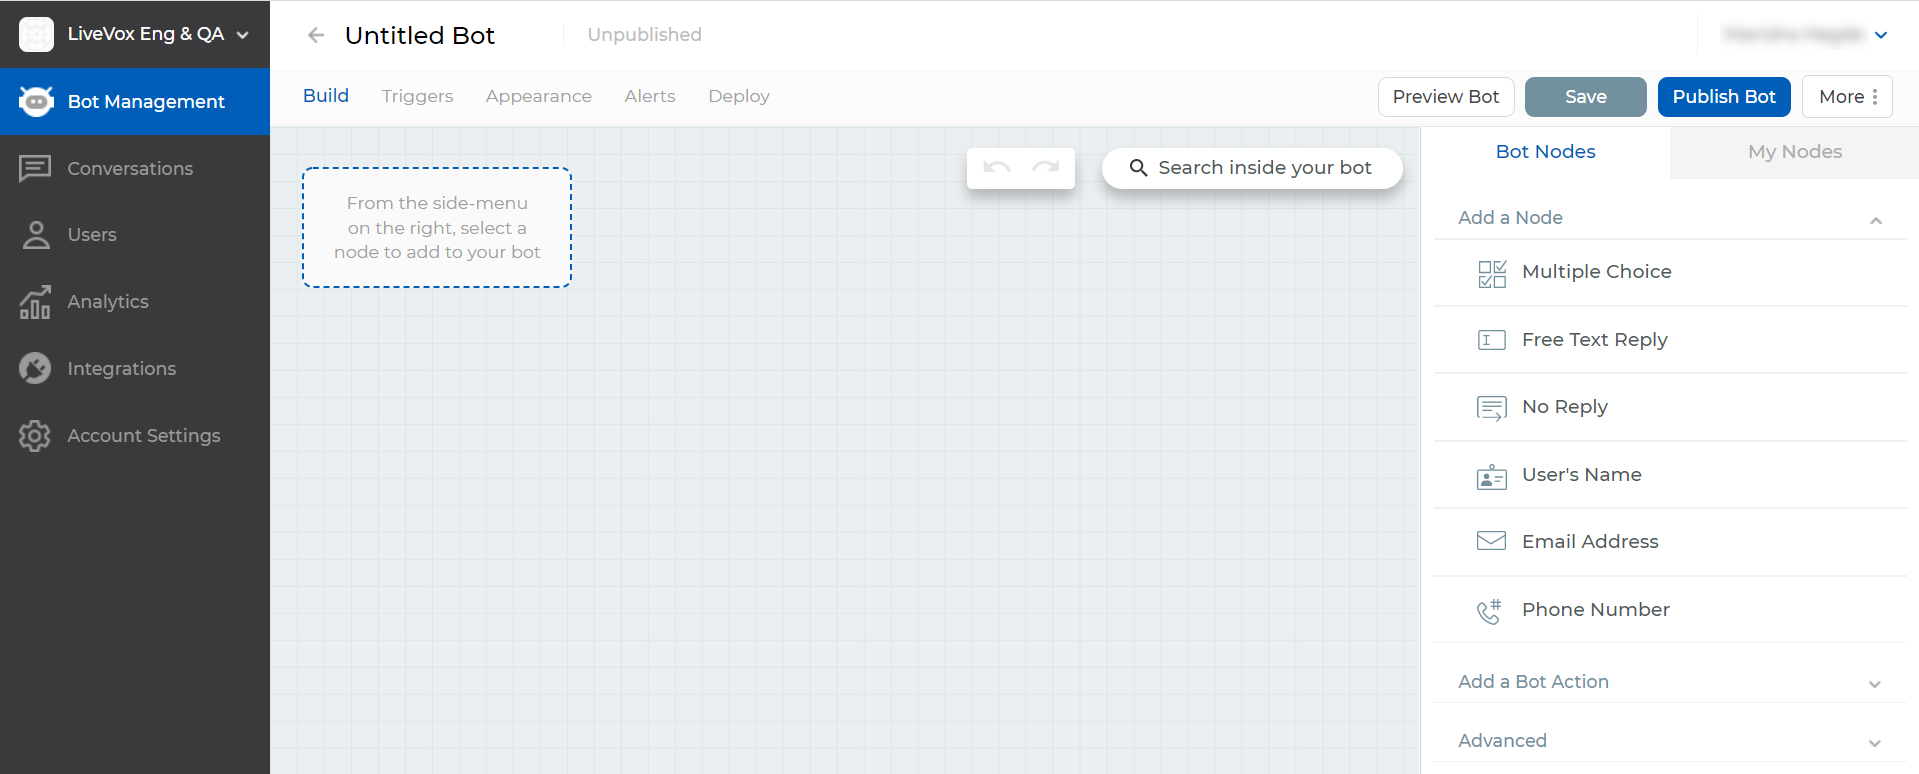
  3. Above the Build tab, enter a name for the bot.
  4. On the Bot Nodes tab (right pane), on the Add a Node menu or the Advanced menu, select the required node, and then specify its characteristics.
    Delete
    • For information about bot nodes, see Nodes in the Product Documentation.
    • For information about how to enhance a node message, see Enhancing a Node Message in the Product Documentation.
    • For information about the fields on the Additional Options menu, see Node Options in the Product Documentation.
  5. Click Add Node.
    The node appears on the Build tab.
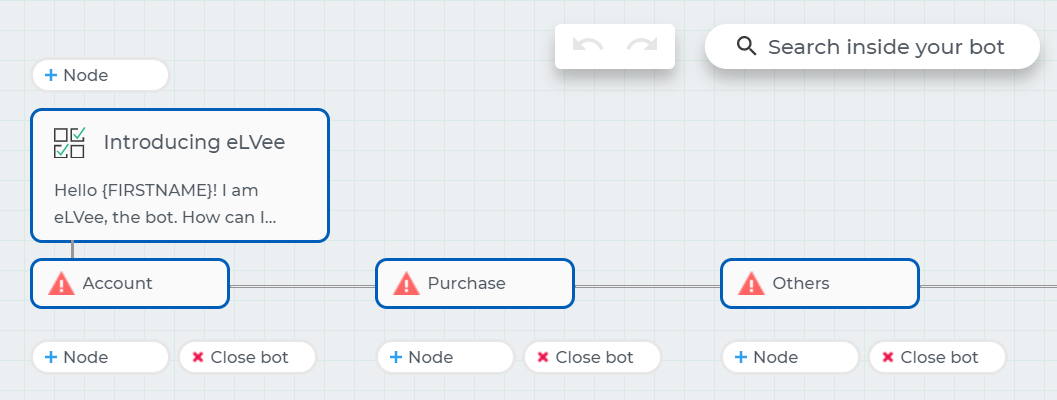
  6. To add another node:
    1. On the Build tab, click Node next to the node from which you want the new node to originate.

      The Bot Nodes tab appears (in the right pane).

    2. Perform Steps 4 through 7.
      The new node appears on the Build tab.
  7. Click Save.
    The bot is created.
  8. Click Publish Bot, and then click Confirm.
    The bot is published.
Delete

For a detailed procedure on how to create a bot, see Creating a Bot.


Assigning the Chat Bot to a Chat Widget

LiveVox will assign the bot that you created to a chat widget and deploy the bot on your website so it can be used by your customers. If you have created another bot and want to deploy it instead, or if you want to deploy an additional bot, see Deploying a Bot in the Product Documentation.

Was this article helpful?

Yes
No
Give feedback about this article

Related Articles

  • Configuring Welcome or Out-of-Office Messages
  • Configuring a Chat Widget
  • Setting Up Proactive Chat Rules
  • Deploying a Widget
  • Understanding the Chat Monitoring Options

Copyright 2025 – testcompanylivevox.

Knowledge Base Software powered by Helpjuice

Expand